When to pose a character?
I’ve been wrestling with a conundrum as I’m working on one of my final development projects, a character sculpt heavily featuring Marvelous Designer clothing. This piece is intended to be both a 3D printed figure (in a single pose) and a digitally rendered/painted piece (displayed in two separate poses as required by a competition I’m entering). I’m trying to decide at which stage of the pipeline I should put this character into her final pose(s): before exporting from Marvelous Designer to take advantage of its fabric simulation, or after exporting and detailing (sculpting her in a T-pose) at the end of the process.
Investigation
The issue is, there isn’t necessarily an authoritative answer to this question. In investigating this, I’ve consulted two lecturers, watched countless Youtube sculpting timelapses, and delved into 3D modeling forums; opinions are very split.
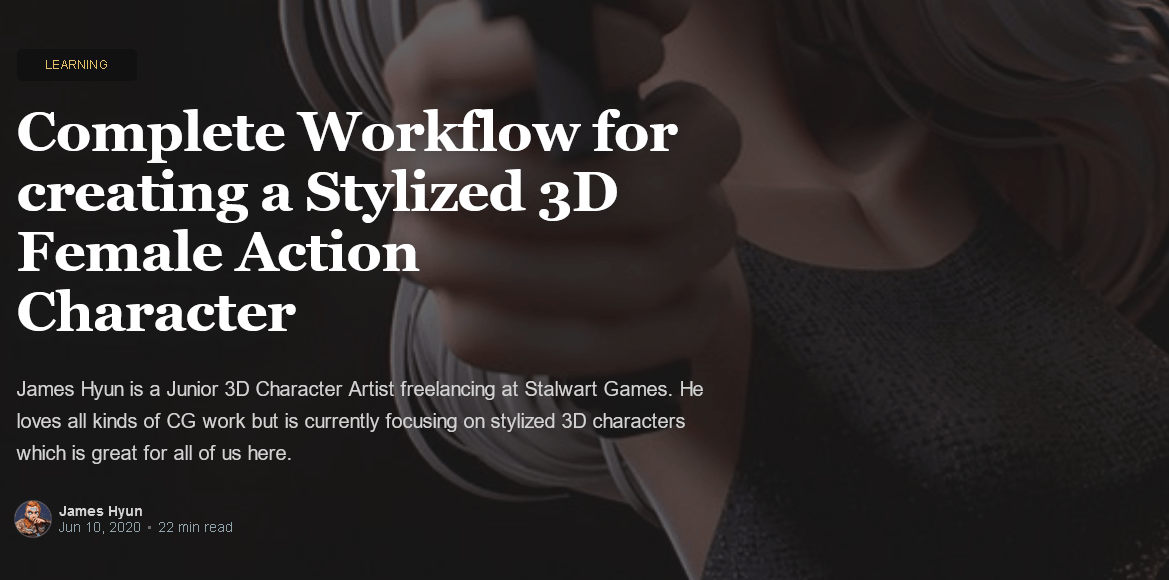
For example, this article by game artist James Hyun covers a full step-by-step method for sculpting a full stylized character. The artist does nearly all of the piece with the character in a T-pose, only giving her a final pose at the last step. This seems to be common for creating game- or animation-ready cartoon-y characters, as also demonstrated in this official Blender tutorial. However, these examples are of simplified characters with form-fitting or basic-planar clothing and little detail. My piece relies on complex, layered, draped clothing and will eventually have things like topstitching and embroidery details to contend with.
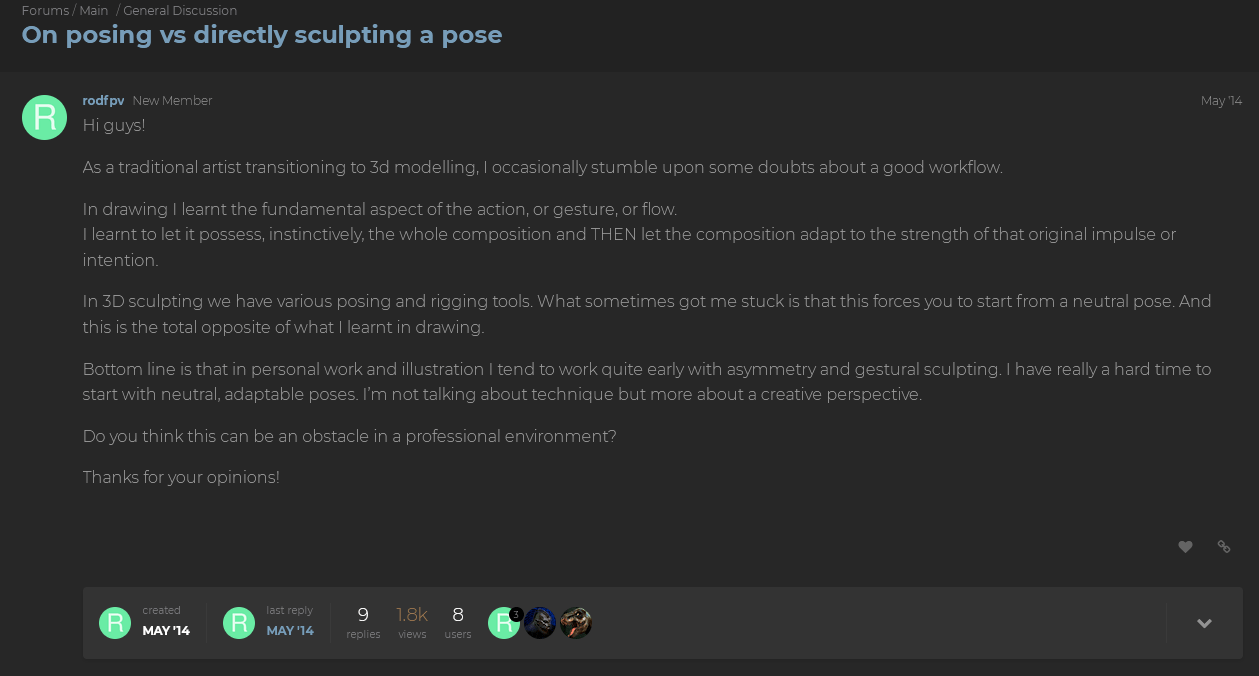
On the other hand, this CGSociety forum post is full of responses advising to sculpt in a dynamic pose in order to visualize overall composition and silhouette. One commenter mentions the downside of not being able to use symmetry tools in this scenario, but as my fabric patterns are inherently symmetrical and I’m working from a basemesh for the body, this is less of a concern. For detailing, the fabric has already been simulated asymmetrically even on a T-posed character, so symmetry doesn’t apply.
Analysis re: Laudna
Approaches seem to be very correlated with the background of the answerer, as they have different requirements. Those who focus on 3D printing, such as DnD miniature sculptors, would say to pose the character first, as it will only exist in that single pose and topology isn’t a concern. A similar approach is favored by artists coming from a traditional drawing or sculpting background, where the pose is a vital first decision for a piece. On the other hand, game artists who expect the character to be rigged, animated, and moved into a hundred poses would push for sculpting in a T-pose and then posing it in the final stage. So what should I, someone who’s using the same piece for both purposes, choose?
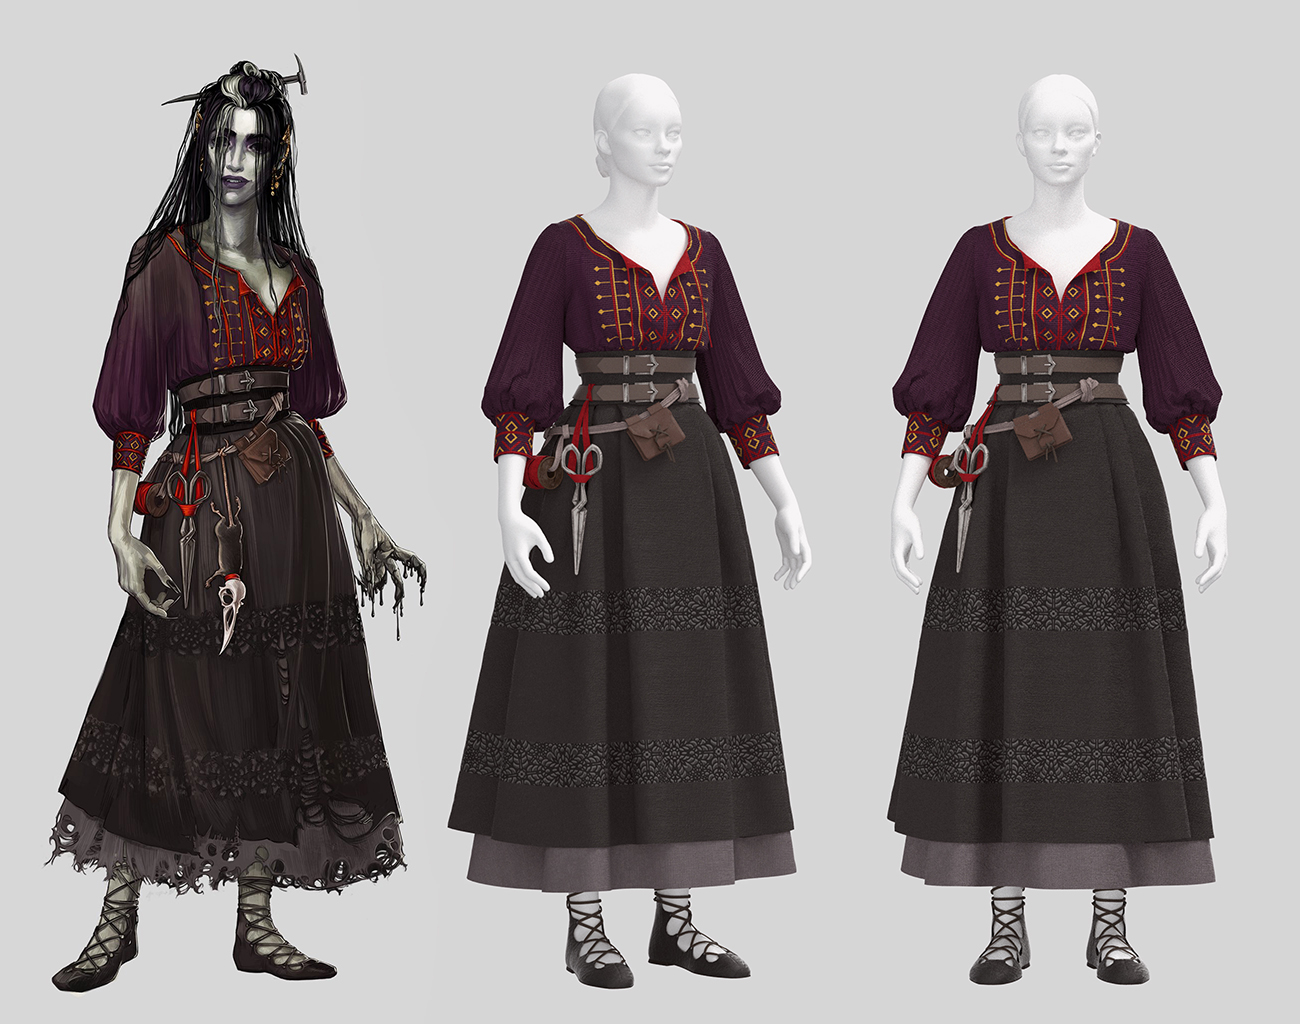
I have an additional complication added here: 70% of the content of my sculpt consists of draped fabric. I’ll need to sculpt the character’s face, hair, few accessories, and small portions of her arms and legs, but she’s mainly covered in meters of flowing clothing. The main pose I’m considering has one of her (long-puff-sleeve-adorned) arms bent upward, and her hip cocked to one side, altering the way that three layers of skirts fall. I’m very concerned with stretching the details in the fabric texture after the fact.
With this in mind, I’ve decided to opt for the pose-first route, with the more complex pose being the main one and the second pose manipulated from that. I don’t yet know how to set up fabric rigging so that it moves appropriately with the character, and I think animation generally will be outside of the scope of this course for me. If she had closer-fitting clothing or pieces that moved with her pose (e.g. armor pauldrons that remained static apart from positioning), then I would choose otherwise. This makes my character inherently not game-ready, but will allow me to focus on getting really clean topology in a dynamic pose and learning how to add stitching and texture details without worrying about distortion.
This is one of the lessons I’ve been trying to work on over this semester: not taking on too many brand new skills with each project. I’ve found that a slightly narrower focus allows me to explore each of those techniques in more depth and better understand how to apply them to other projects in the future.
Bibliography
Blender. (2019). Stylized Character Workflow with Blender. [Video]. Available at: https://youtu.be/f-mx-Jfx9lA [Accessed: 23 November 2021].
Friederichs, H. (2021). Laudna Character Portrait – Critical Role. [Image]. Available at: https://critrole.com/hype-check-out-our-official-campaign-3-character-art-by-hannah-friederichs-and-jrusar-art-by-clara-daly [Accessed: 4 November 2021].
Hyun, J. (2020). Complete Workflow for creating a Stylized 3D Female Action Character. [Online]. Discover | The Rookies. Available at: https://discover.therookies.co/2020/06/10/complete-workflow-for-creating-a-stylized-3d-female-action-character [Accessed: 20 November 2021].
rodfpv. (2014). On posing vs directly sculpting a pose. [online] CGTalk. Available at: http://forums.cgsociety.org/t/on-posing-vs-directly-sculpting-a-pose/1623674/2 [Accessed: 22 November 2021].
