I wasn’t quite satisfied with my base sculpt for the necromancer’s face and wanted to achieve really refined, realistic textures, so I tested out displacement and texture maps for the first time. I found a wonderful elderly woman’s face scan from 3D Scan Store and, with a little adjusting, arranged it onto my sculpt. I think it fits super well!
It’s getting a bit silly at this point how many times I’ve attempted to learn hair cards by a character deadline, but once again, that was the element I kept putting off until I was out of time. Luckily, UE5 has a wonderful integration with XGen where hair can be created and converted into a groom cache, taking up essentially zero polygons and very little file space. I’m not entirely sure whether this is viable for a real game, but it worked great for my demonstration and I was able to create a quick groom in only a couple hours.


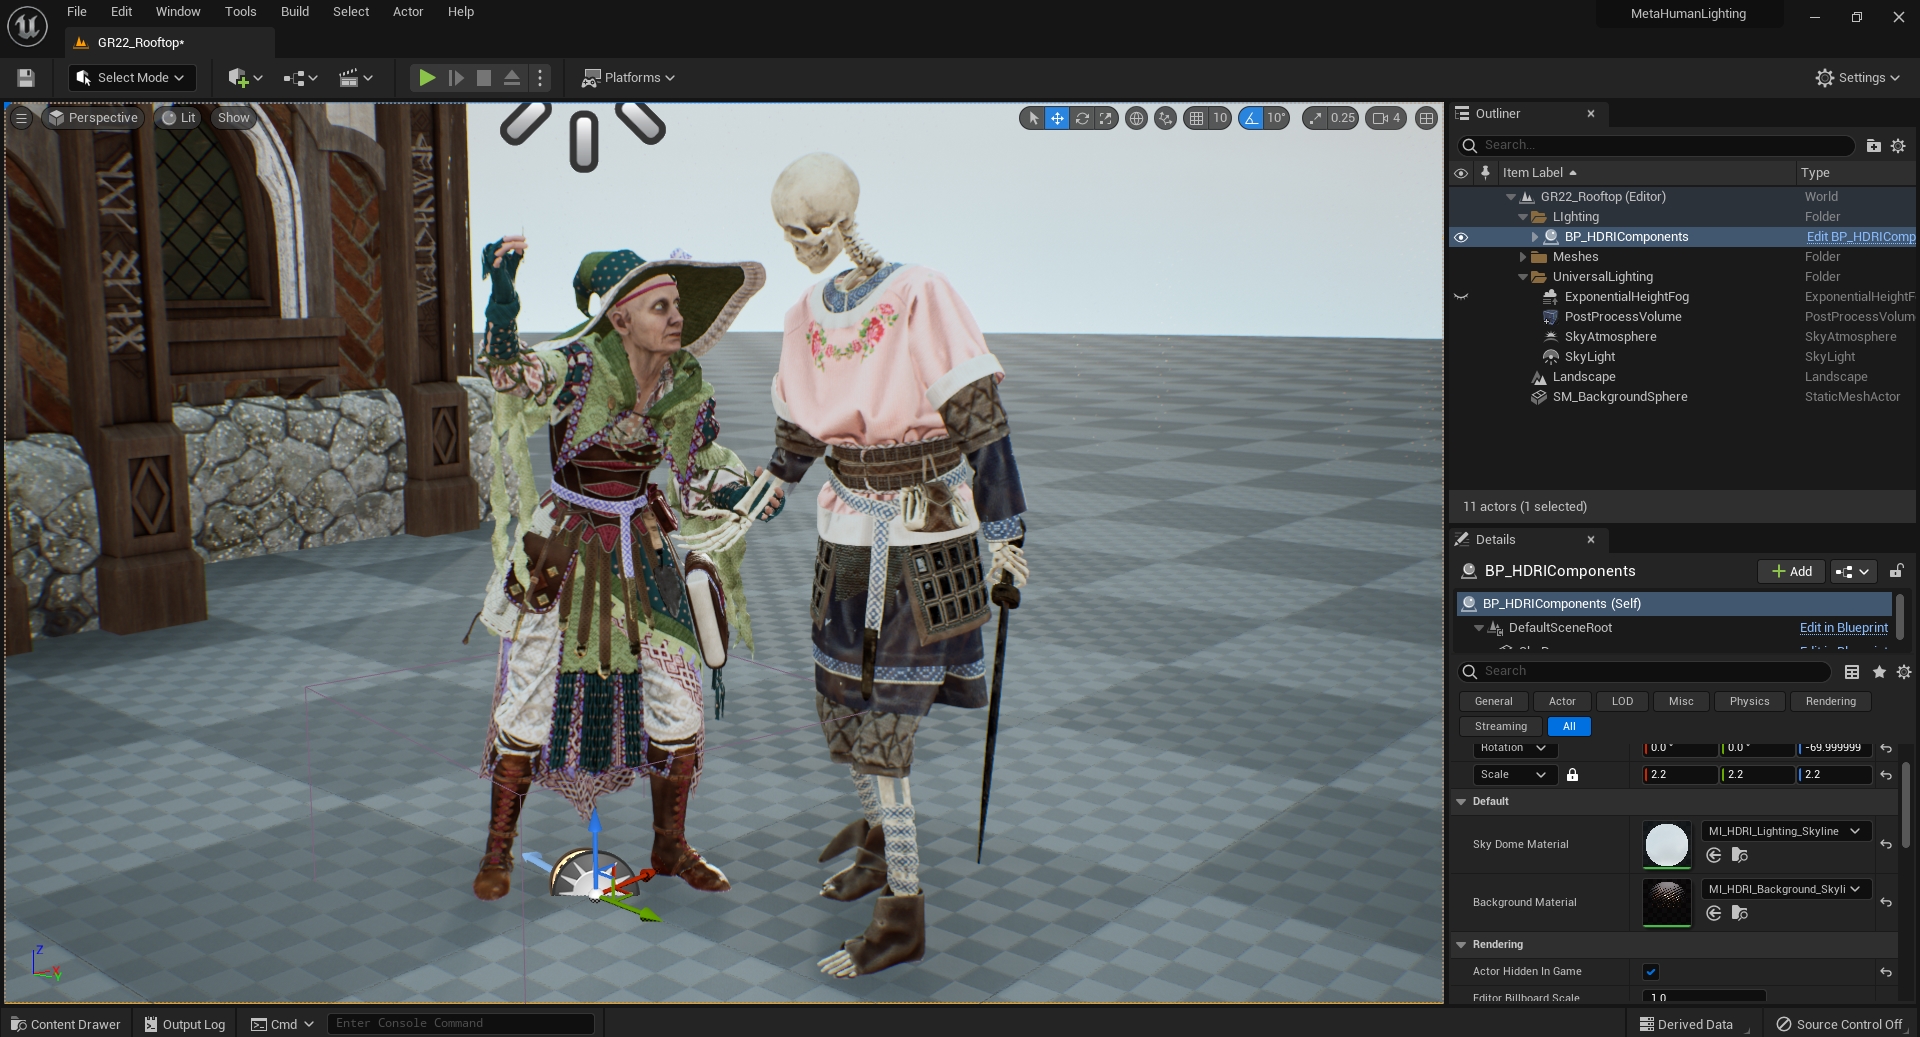
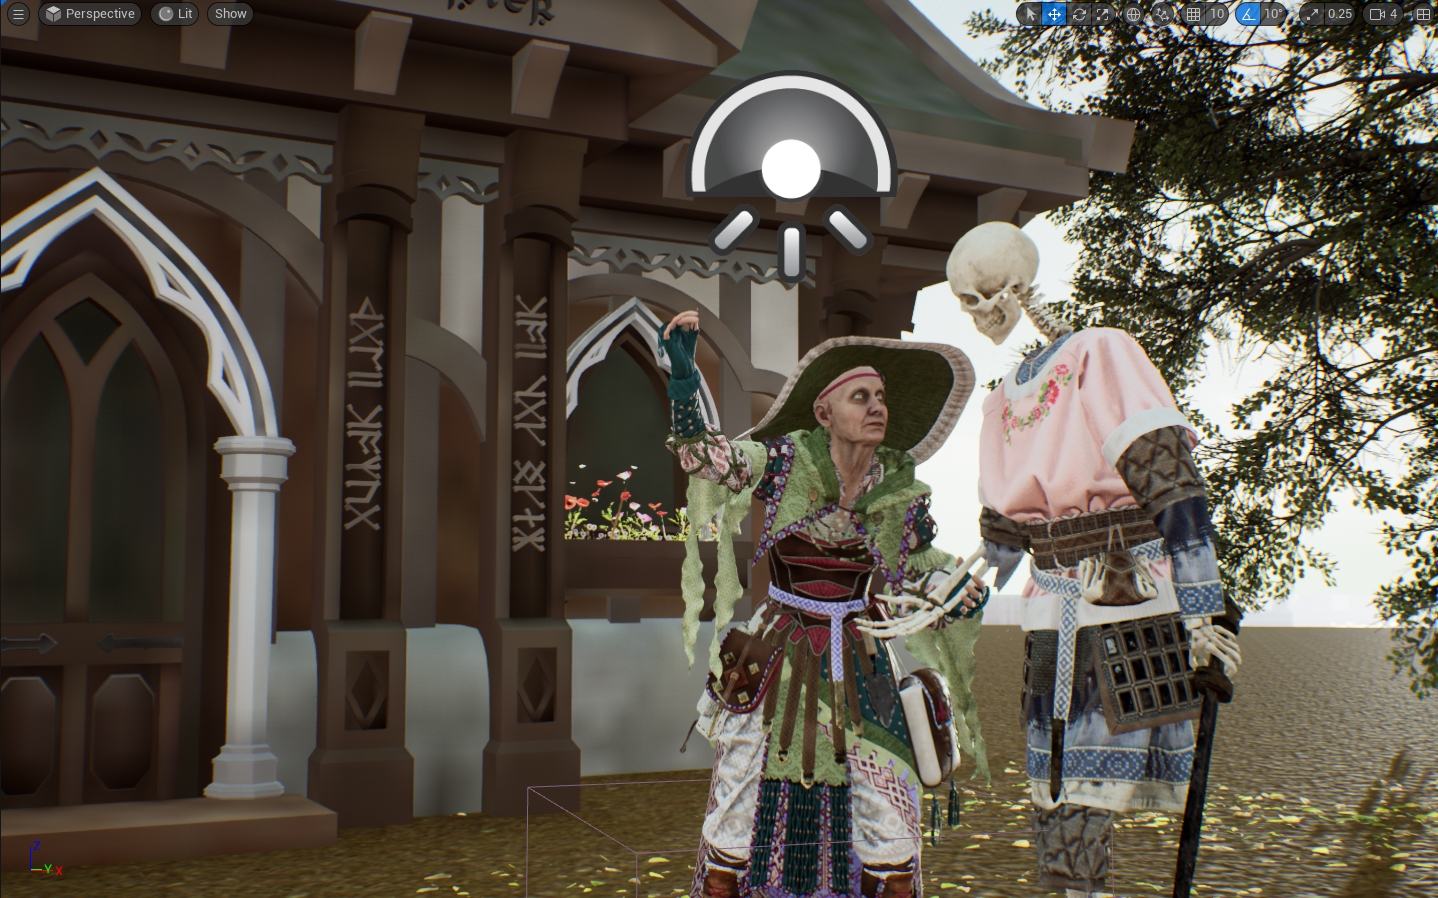
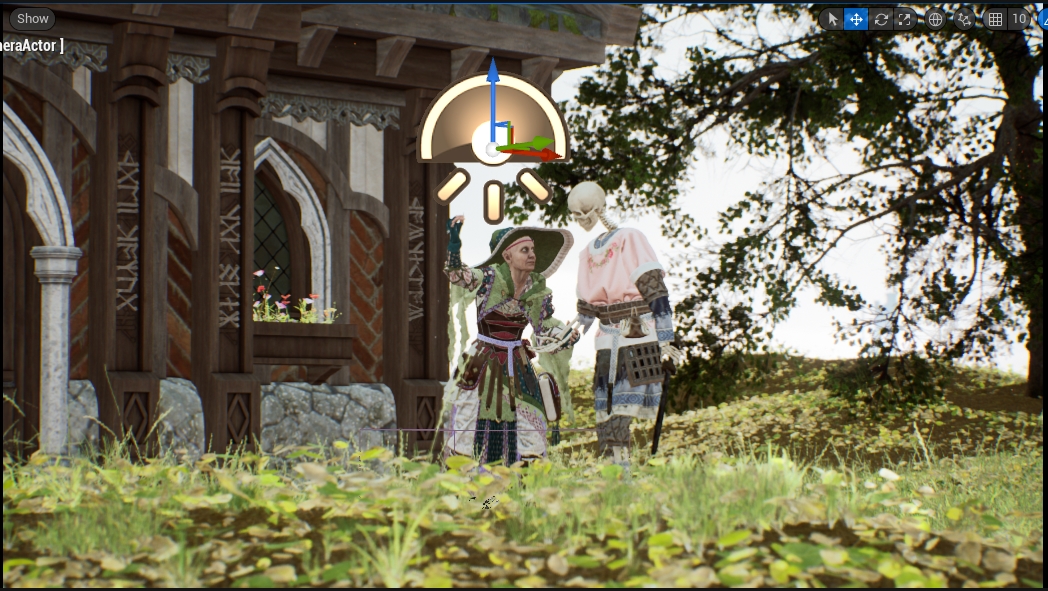
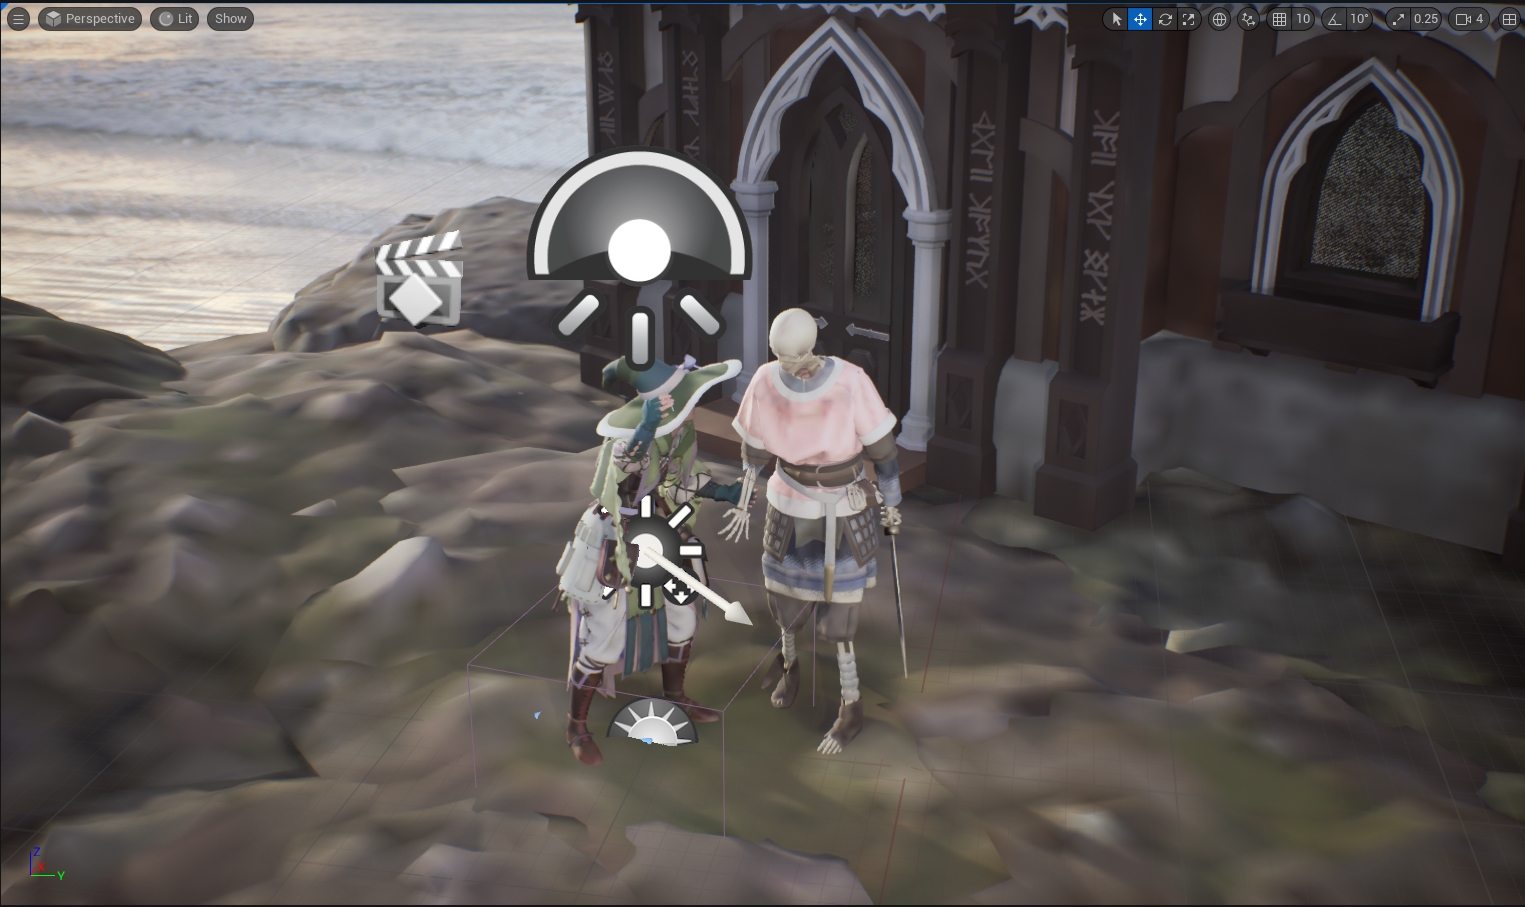
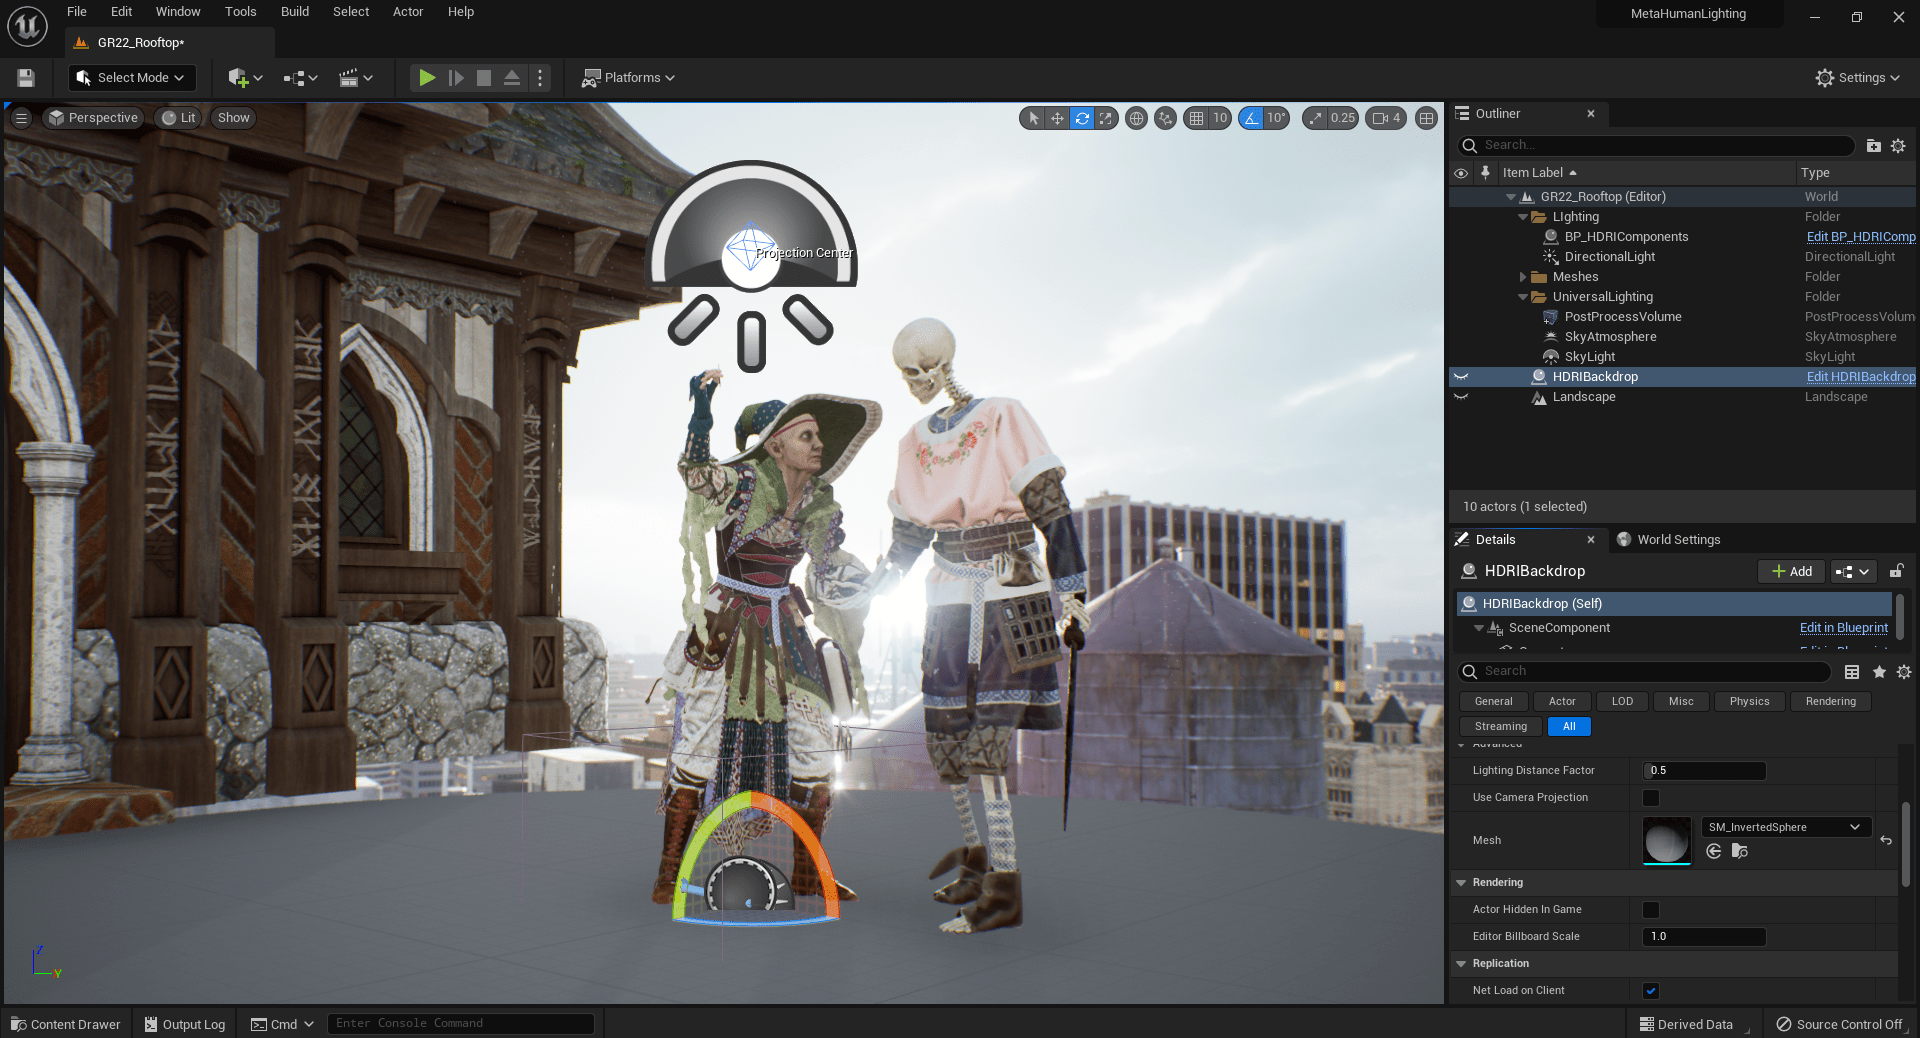
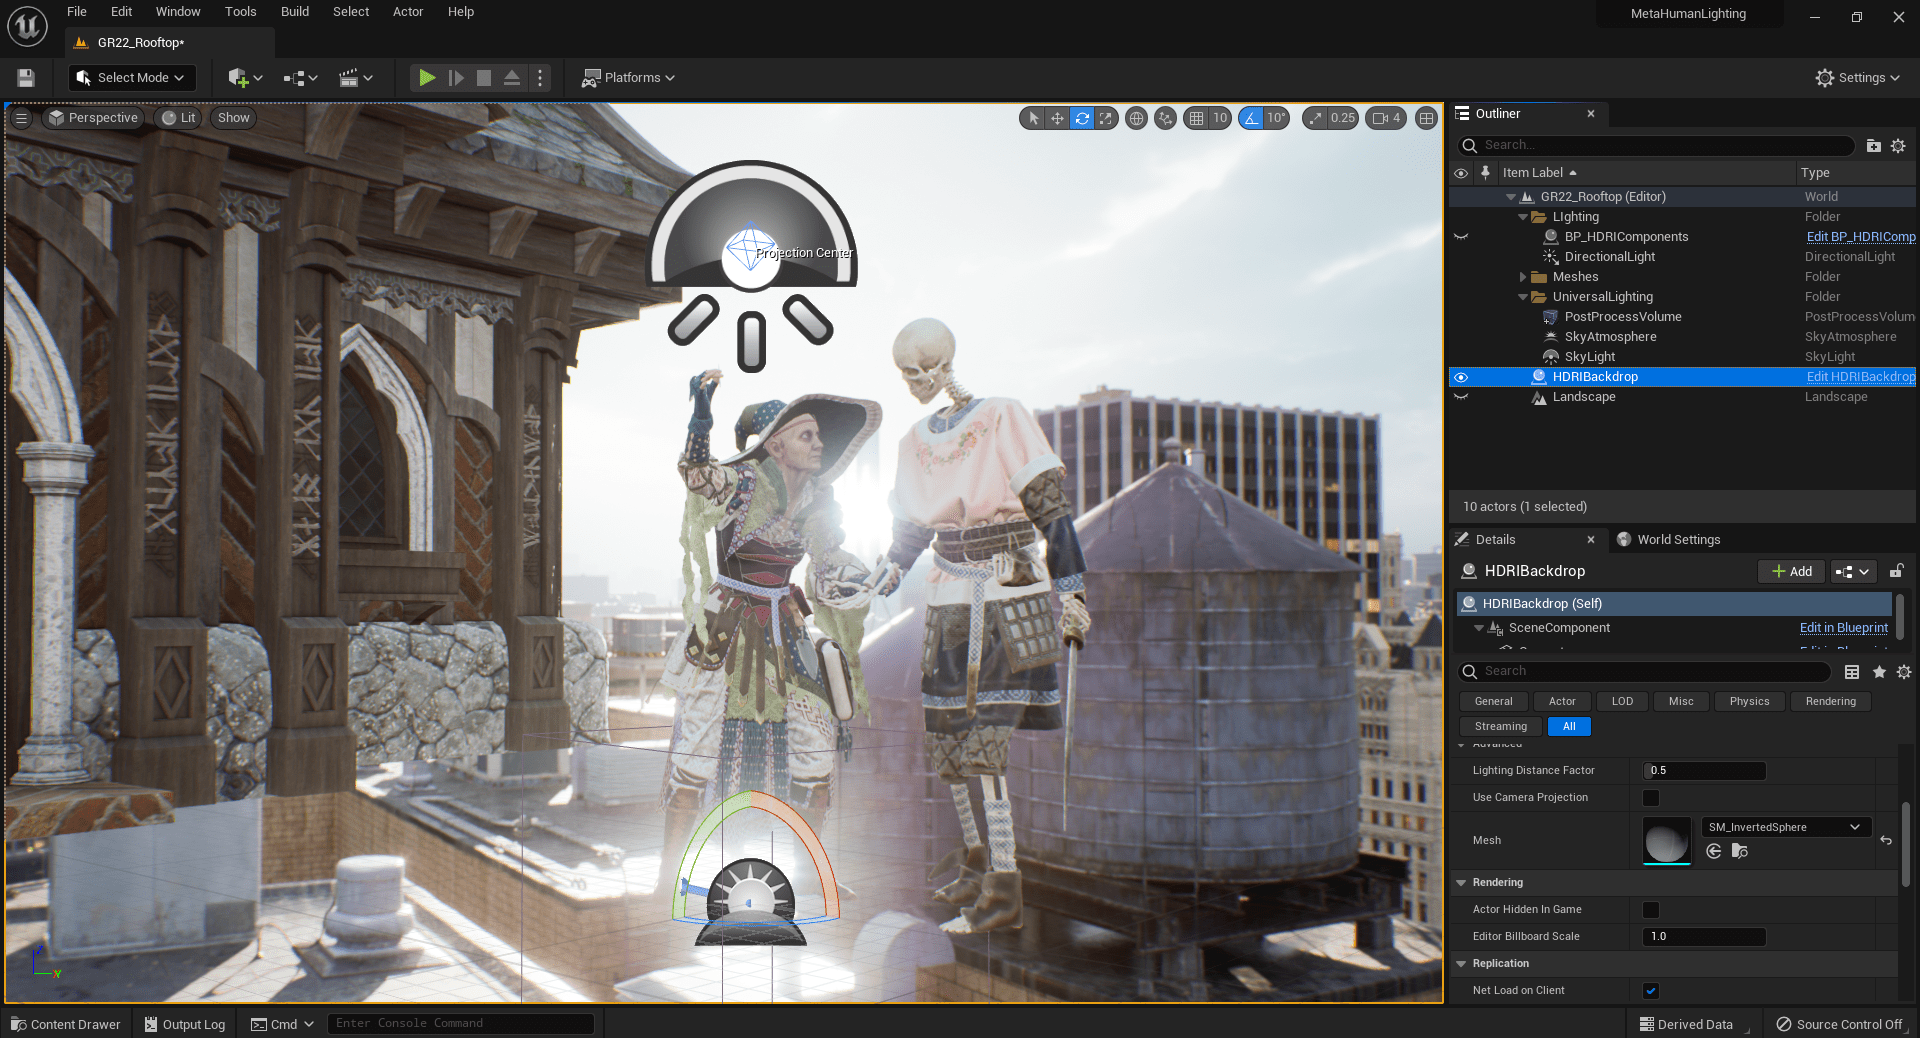
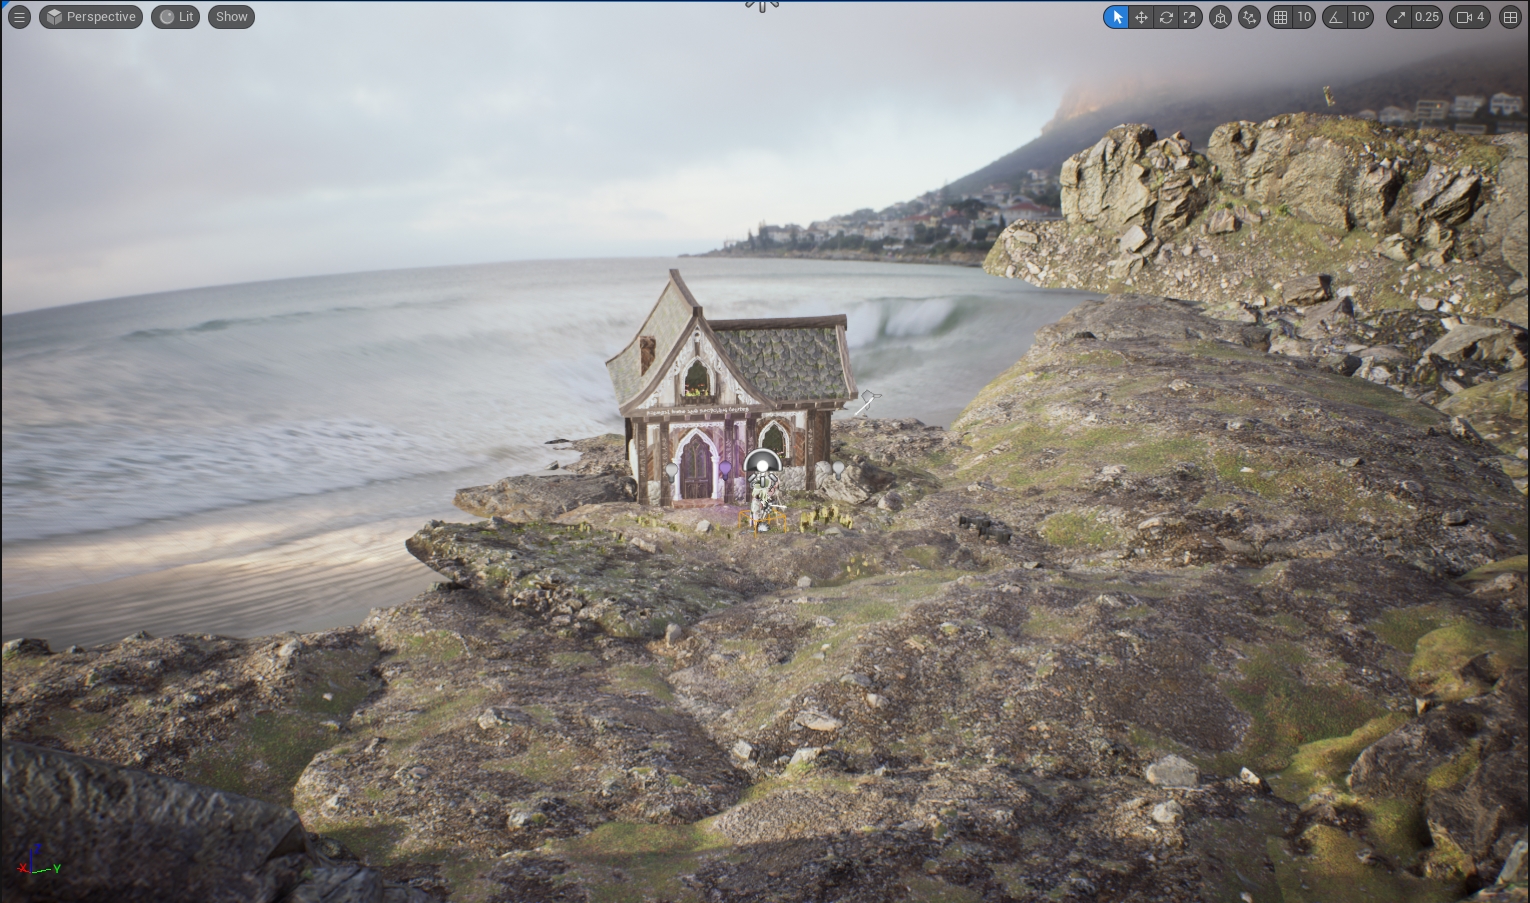
Then it was time for UE5! I’d barely ever used this program before so the learning curve was huge. I started out with some premade lighting maps from Metahuman to figure out scene setup, HDRIs, etc. I ended up scrapping those scenes and making a new one from scratch. Playing around with various foliage elements from Metascans, I quickly determined that I didn’t have enough knowledge to create a realistic scene with trees and grass, instead settling on a seaside rocky tundra with fewer elements. I then played around with a bunch of lights for ambiance and emphasizing certain features, such as the broken skeleton arm and stitching.