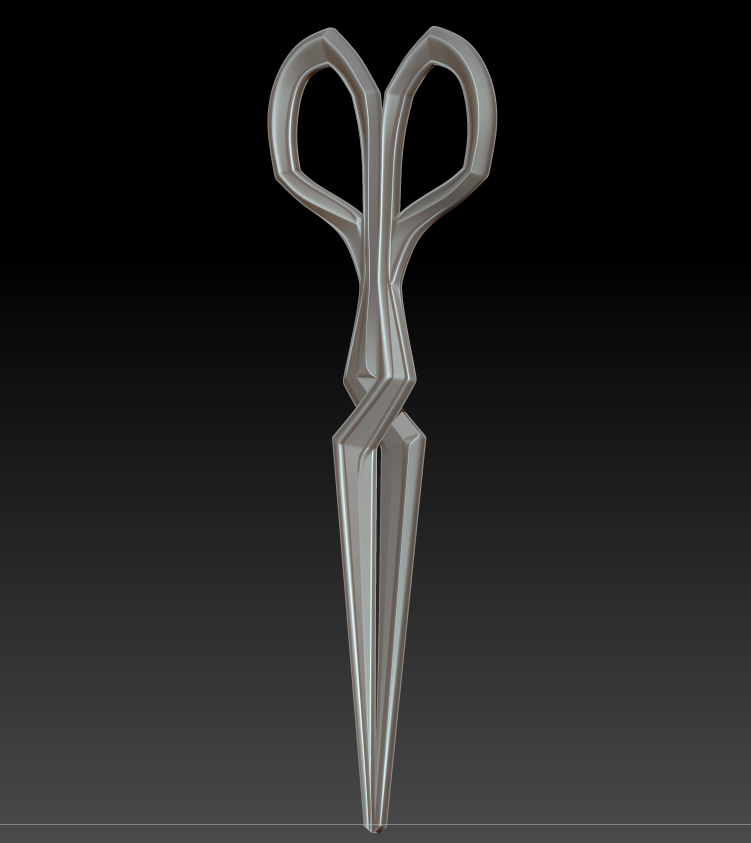
Scissors Sculpt
I’ve once again fallen prey to the 3D modeling curse of assuming that simple designs will be quick to model! Laudna’s scissors have proven far more difficult than their appearance would suggest, partially because I’m working out a few new fundamental skills (UVs and noisemaker) but mainly because of trying to recreate a real-world mechanism. That is, I don’t completely know how scissors work – I’ve never seen them with the blades separated and they have a few odd planar changes over the hinge part. It took quite a few prototypes, but I did manage to get them matched up and working in the end.
I ended up doing all of the base sculpting in ZModeler, creasing along polygroups and smoothing sections of the model. I have a feeling I interpreted a few of the outer lines and highlights on the (very painterly) reference image too literally, as I was determined to build in extra raised edges and bevels, but the final piece is quite faithful. I’m still stuck in the rut of doing all of my hard-surface work in ZBrush, just because I’m most familiar with it and try to avoid Maya whenever I can. It’s something that I do need to sit down and learn in a program better suited for CAD design, though.
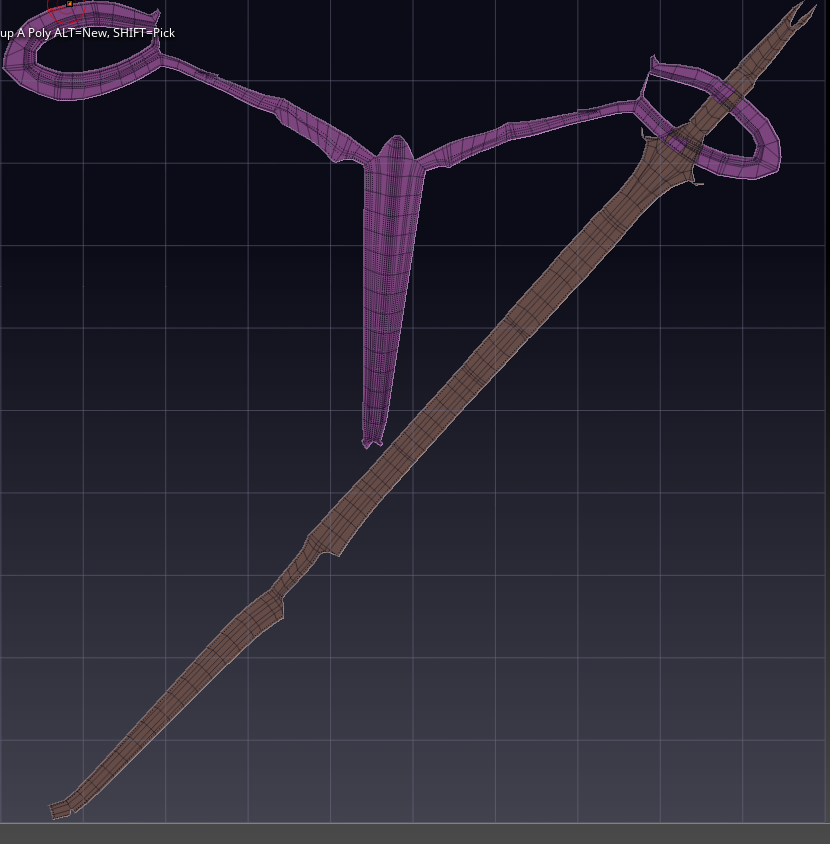
I still haven’t tackled manual UV unwrapping yet, and it didn’t matter too much for this piece where I simply needed UVs for noisemaker, so I used ZBrush’s automatic UV unwrapping tool. It’s not the cleanest, but it will suffice for a 3D print!
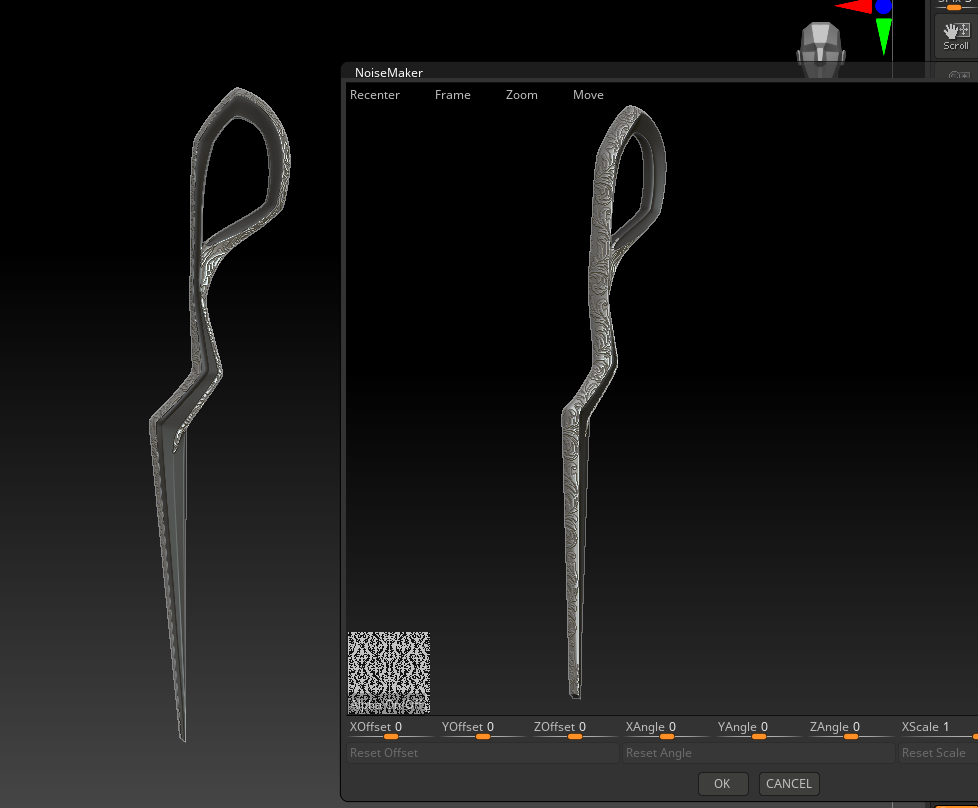
Noisemaker Filigree
Because I wanted to push the limits of my printer, and because I’m allergic to un-ornamented surfaces, I decided to add my own filigree details to parts of the scissors. They reminded me of ornate Victorian leather shears, which would often be covered in intricate designs.
Once I had my scissors UV’d, I set out searching for a filigree alpha that would work with this design, and settled on a design from Vectorstock. I cleaned up the design, made it grayscale in Photoshop, and then re-vectorized it in Inkscape to avoid any pixelation. In testing both the regular and inverted alphas, I discovered cleaner results with a white-on-black design. From there it was just tweaking Noisemaker settings and masking off the areas that were to remain clean.


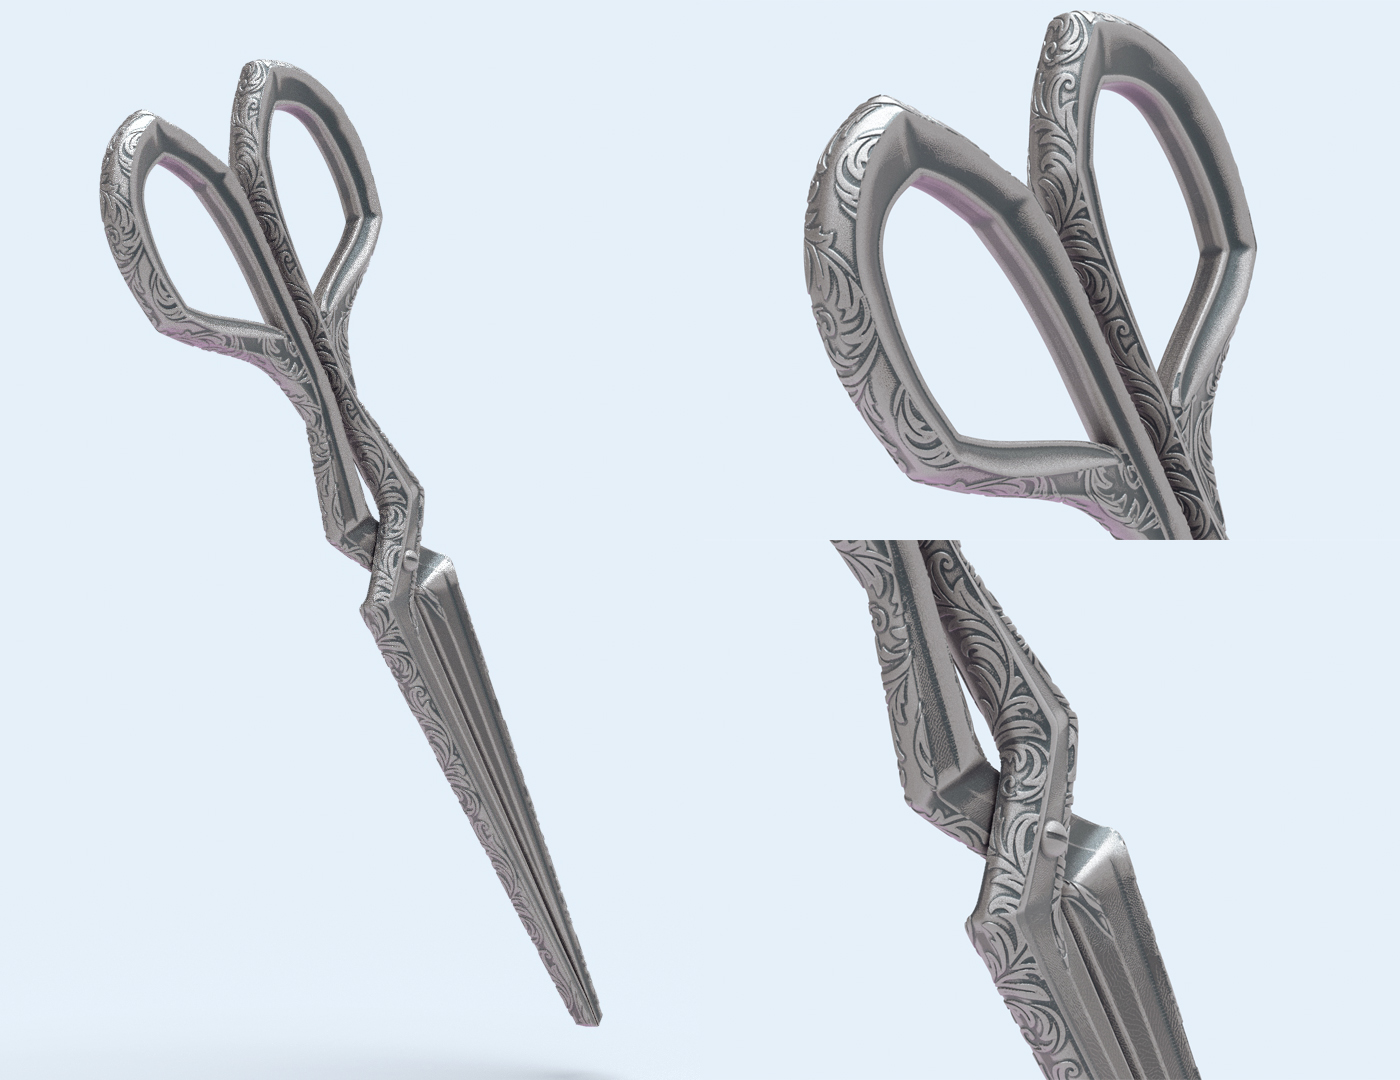
Final Render
To show off the final piece, I applied a standard weathered metal material and created a simple scene in Keyshot. Overall, I think the piece really resembles the original concept art while still having some extra detail that might have been lost in the rough stylized nature of the artwork. They won’t be cutting anything, but they do look pretty!
Bibliography
Vectorstock. (2018). Seamless Damask Pattern Vector. [image] Available at: https://www.vectorstock.com/royalty-free-vector/seamless-damask-pattern-vector-1002055 [Accessed: 5 November 2021].
